
“!4!” (internally called RADcat) was a game-jam project facilitated through part of our Screen Arts degree here at Massey as a 3rd year assessment, prior to beginning production on our capstone projects.
Overview
To build this project, we worked in teams roughly allocated a split between art and programming-centric members to build a smal pace idea over ~six weeks, from initial concepts, week by week to assemble a prototype that coalesced in an exhibition session among our peers’ projects.
Among other level designers, blueprint specialists and team artists, my focus was on navigating our game design journey to establish what we were building on a functional level, as a team, working to coalesce our production information, a bit of music and audio design and team oversight, and art for 3D assets (level art, some game objects) and some basic scripting / gameplay setup
Main Menu
I set up all of the initial files in our repo for each level, the main menu, and (although we didn’t end up using them outside of our programmer, Ben Lambert) test environments for the player controller and art testing.
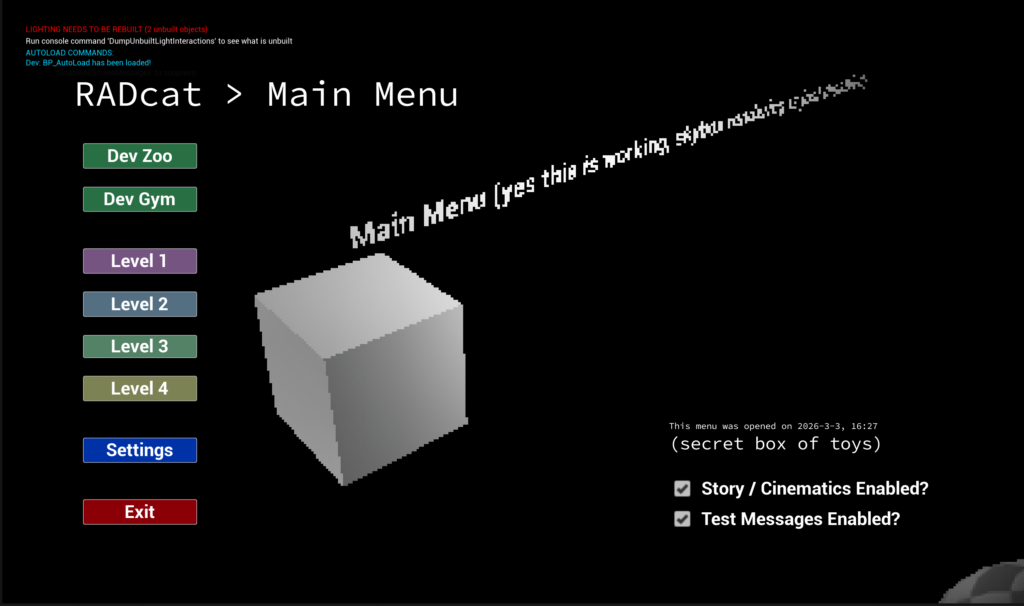
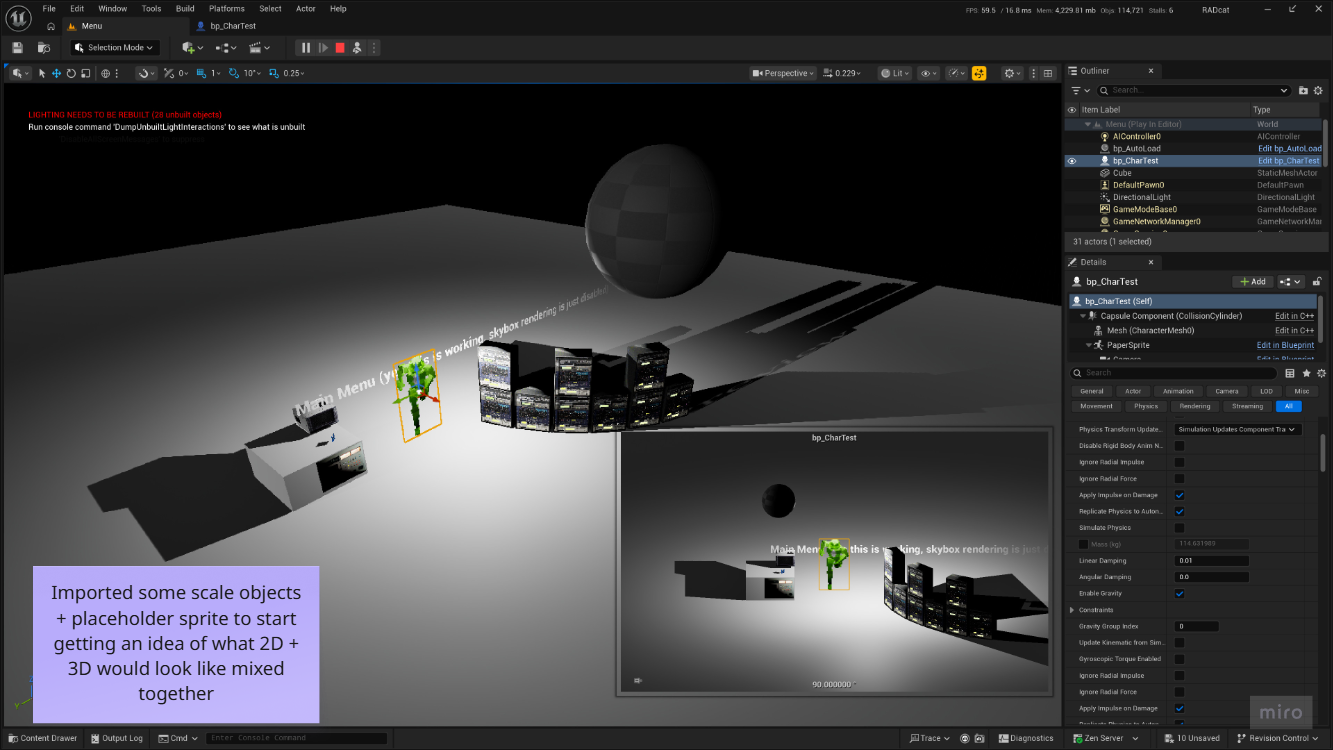
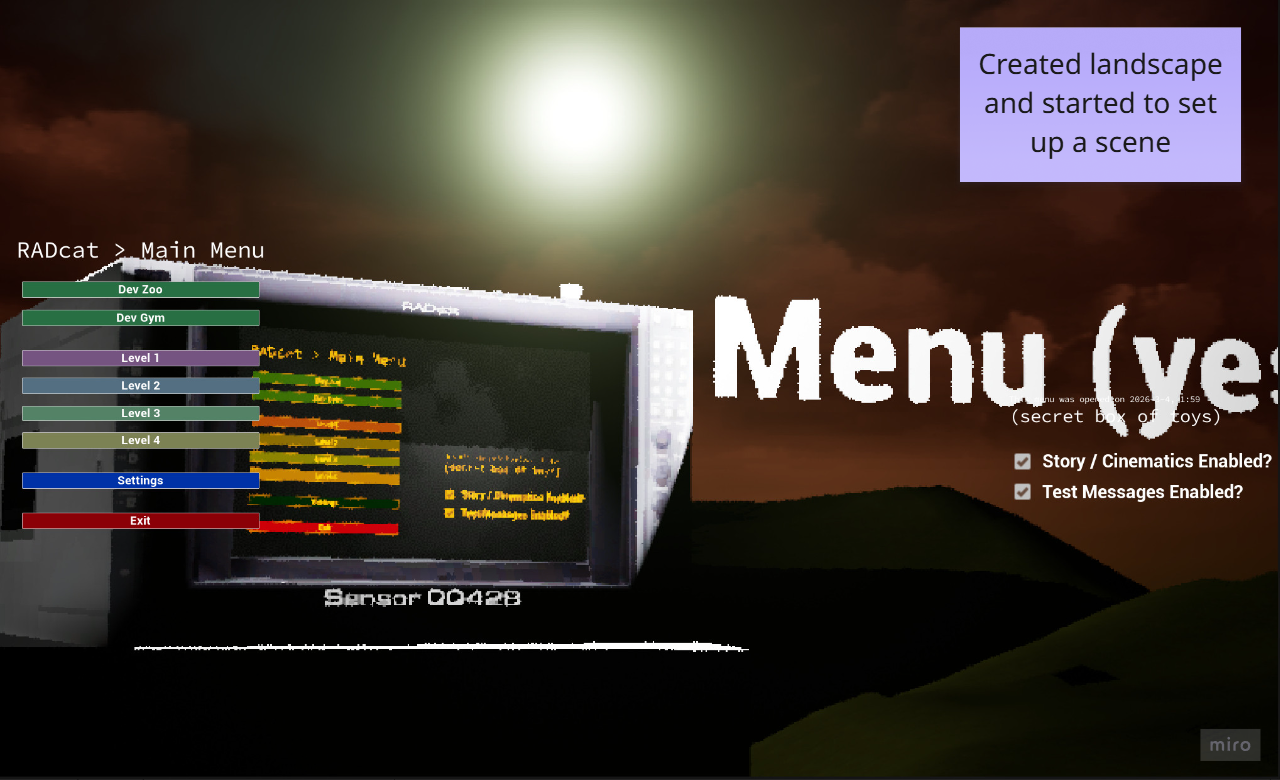
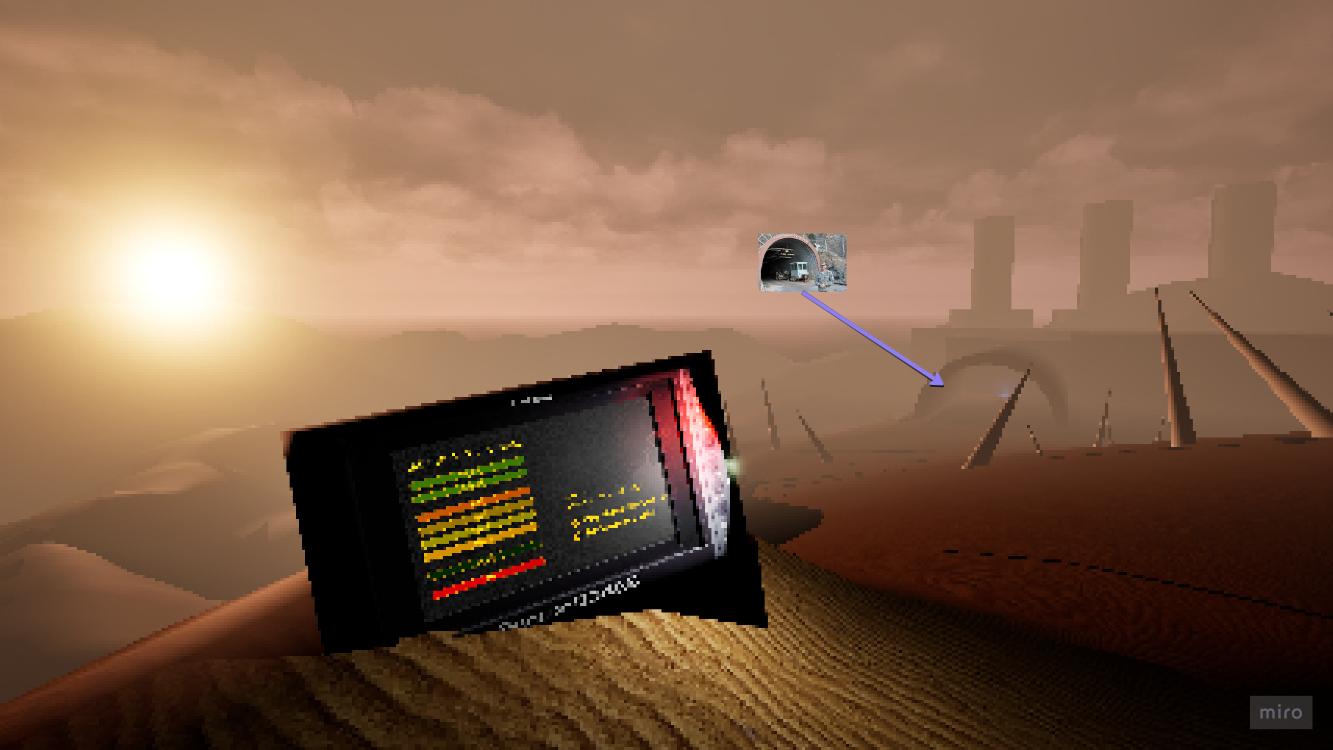
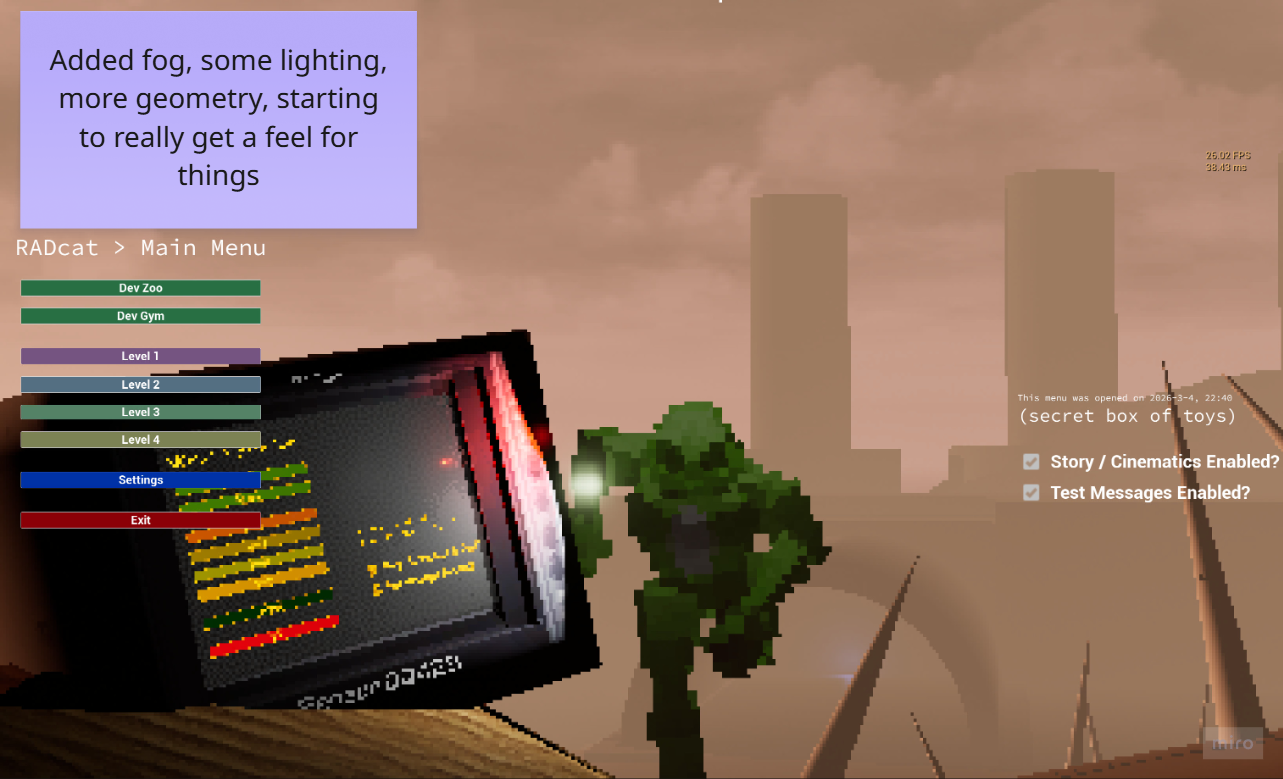
Below is a quick gallery of the menu level editing from the early process of just starting to bring things in through to the end result. (Right click > open in new tab to view full size)
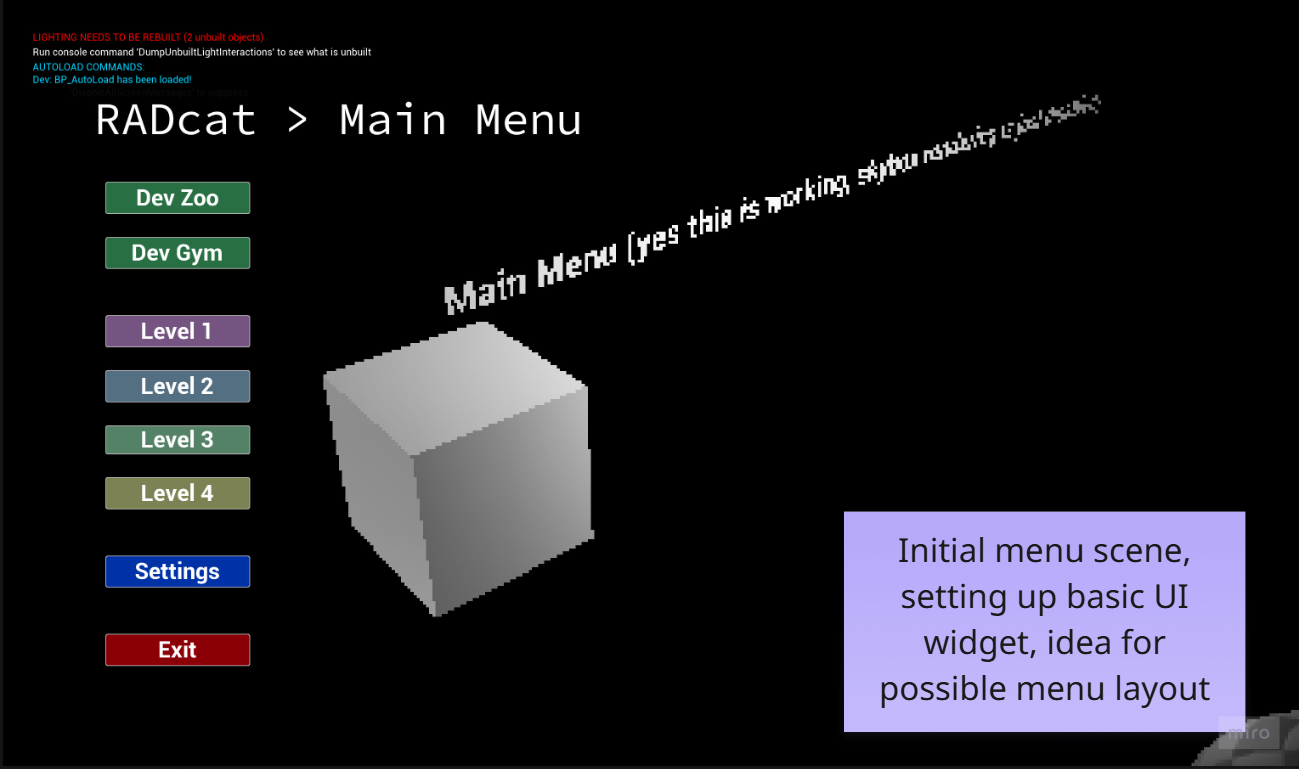
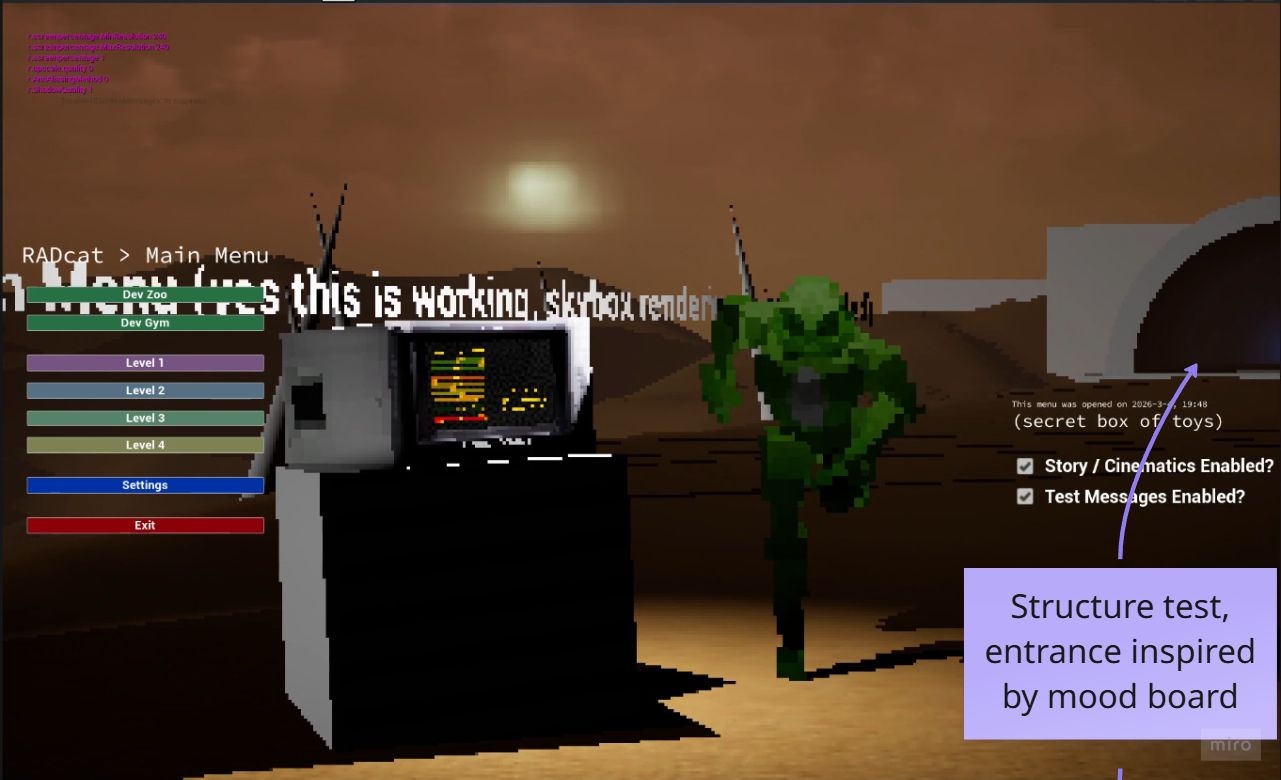
After I set up the base main menu as above, I briefly explored a direction where the menu would be interactive, so “starting the game” would zoom out and reveal the player has immediate full control, requiring them to intentionally move into the facility via the tunnel, chasing the Radcat into the facility. If the player veered too far off the linear path into the tunnel, the desert fog would increase to the point of obscuring visibliity, while invisible walls would keep the player from veering anywhere except back into the path.
I thought this would work well as a space to allow the player to quickly learn the controls and get their bearings on the player controller before being affected on the clock by elements like increasing radiation.
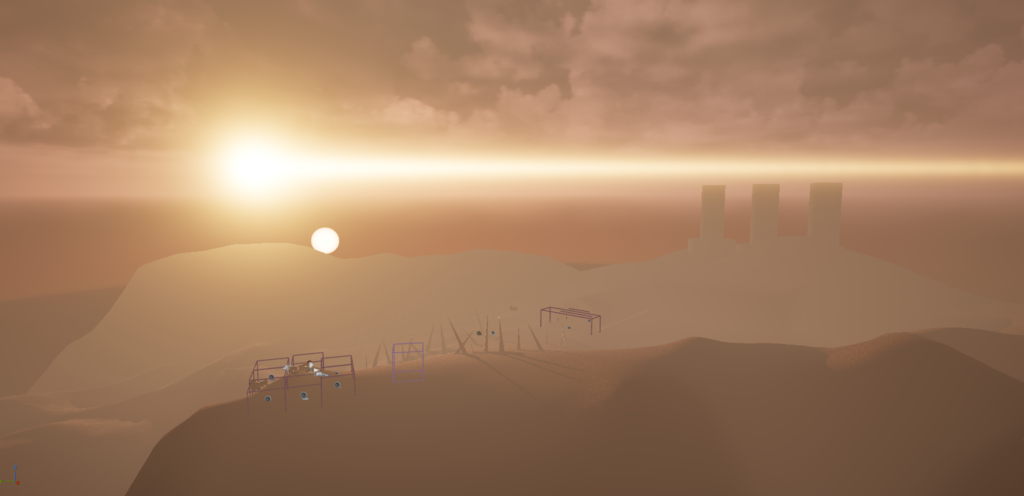
We ultimately decided on playing an intro cinematic rather than have the menu be a playable space, so instead went for this video below, and would have had control diagram / signage in the first level rather than blown over / weather signage in this area.
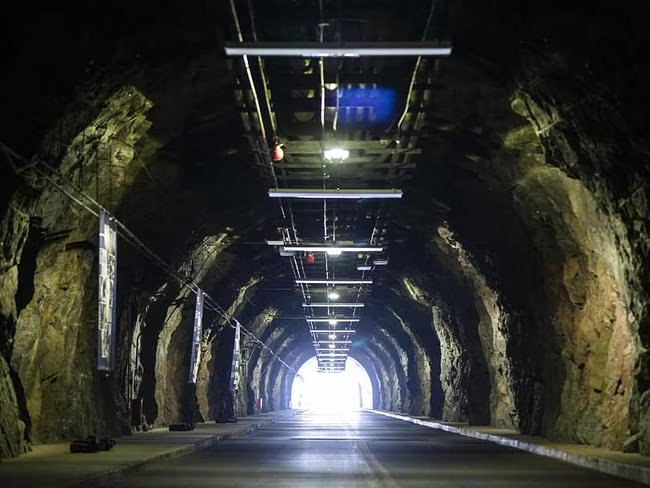
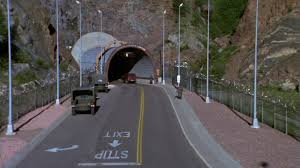
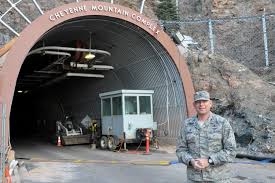
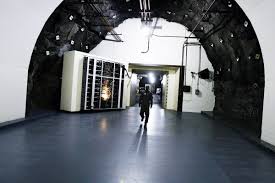
The design for this outer section was a testbed to experiment with UE5’s sky atmosphere and fog parameters to create a scene with the feeling of a “desert blizzard”, while in the background of the menu cameras, a Cheyenne Mountain inspired entrance leads into an abandoned industrial facility.
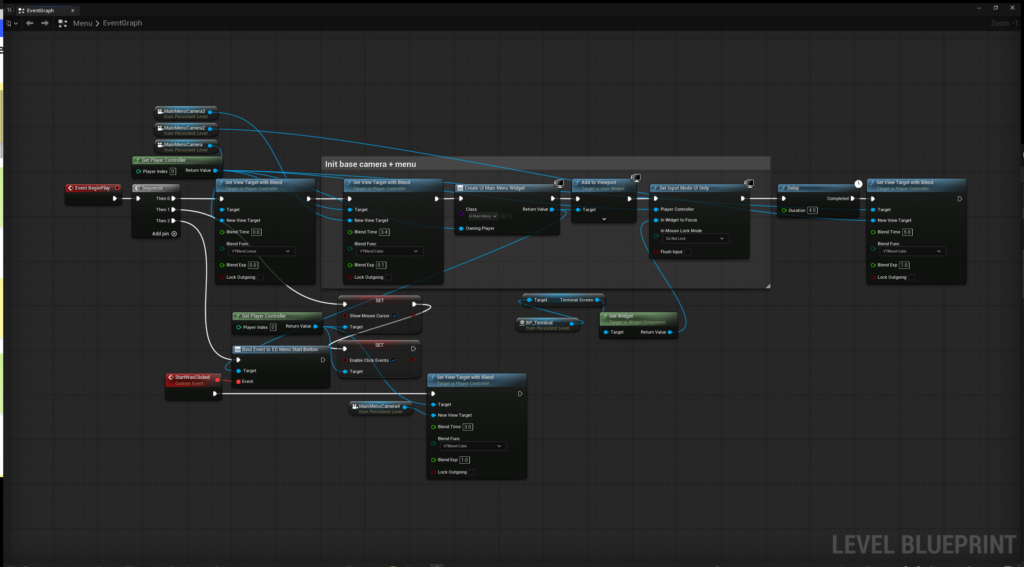
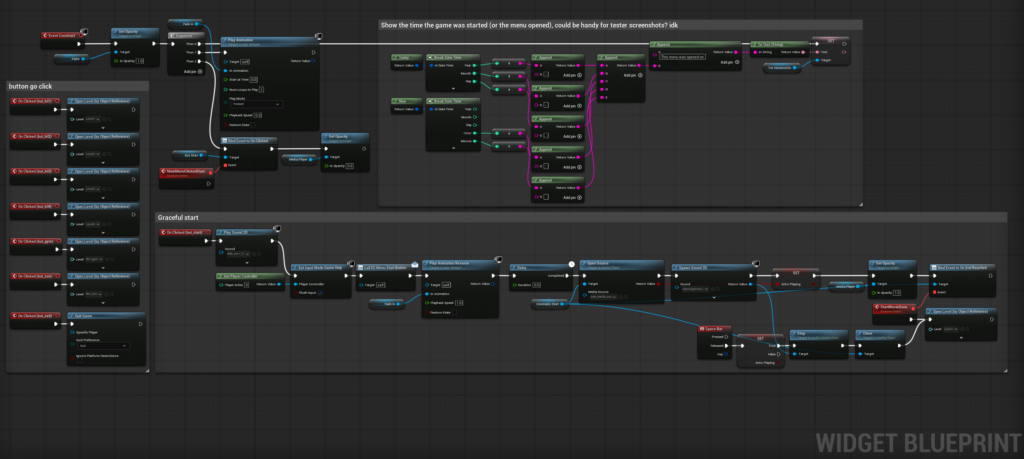
Scripting and Menu Logic
The menu level and UI widget work in tandem with an Event Dispatcher that signals after the game start has been clicked to direct the camera viewtarget to other positions while simultaneously fading “out” the opacity on a fullscreen blank widget rectangle to bring the screen to black before playing our intro cinematic pre-Level 1.
Multiple cameras were tested and adjusted over production and we landed on a final set I prepared positions for to then blend between as a short animated sequence. This was before I figured out how Unreal’s Level Sequencer works, which specifically would be able to handle effectively all of this process on a discrete timeline that can just be recalled in entirety, something I would do instead for next time to achieve basically the same thing, much cleaner.
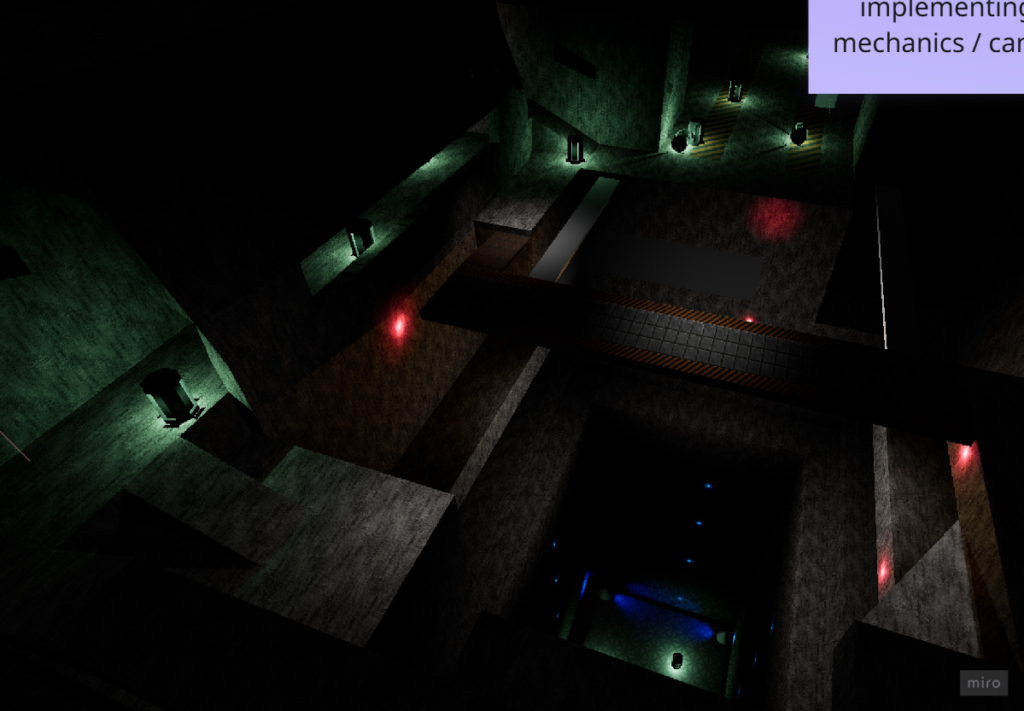
Level One – Cargo
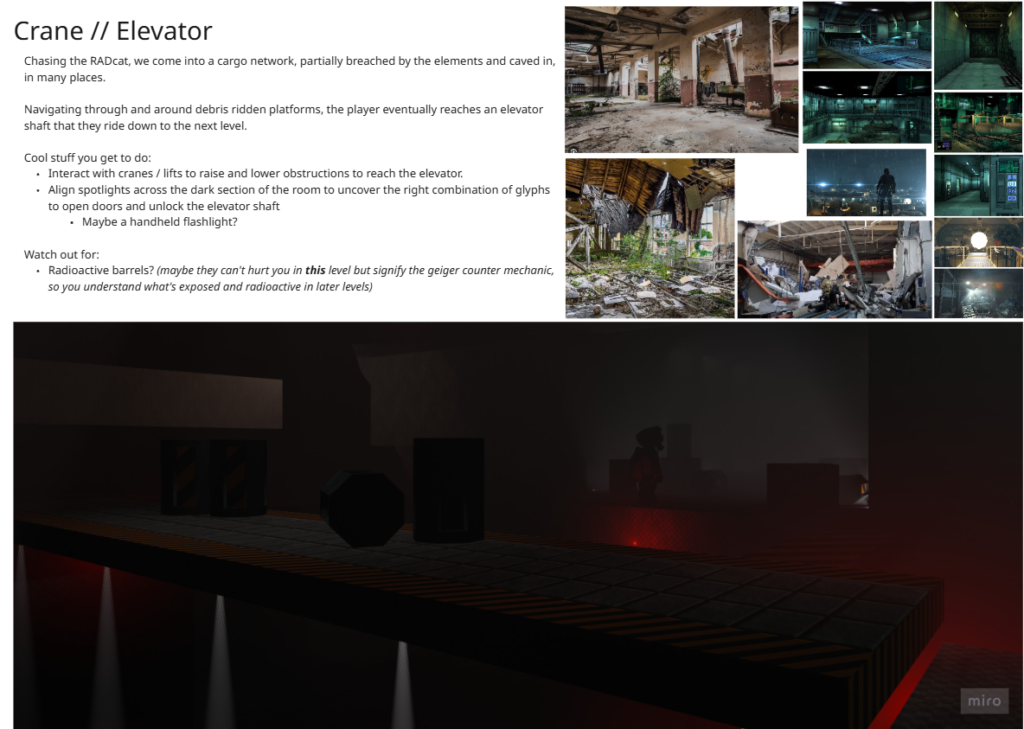

Building on the foundation of an idea worked through with Amy, we started to put together ideas for how a multi-level facility for the first game level could be fleshed out. As later levels gained their identity the idea was refined into a cargo area, including a retractable platform bridge, spotlights, a central cargo platform in the middle, and a crane that would be operated to remove debris blocking the elevator’s primary shaft doors from retracting.
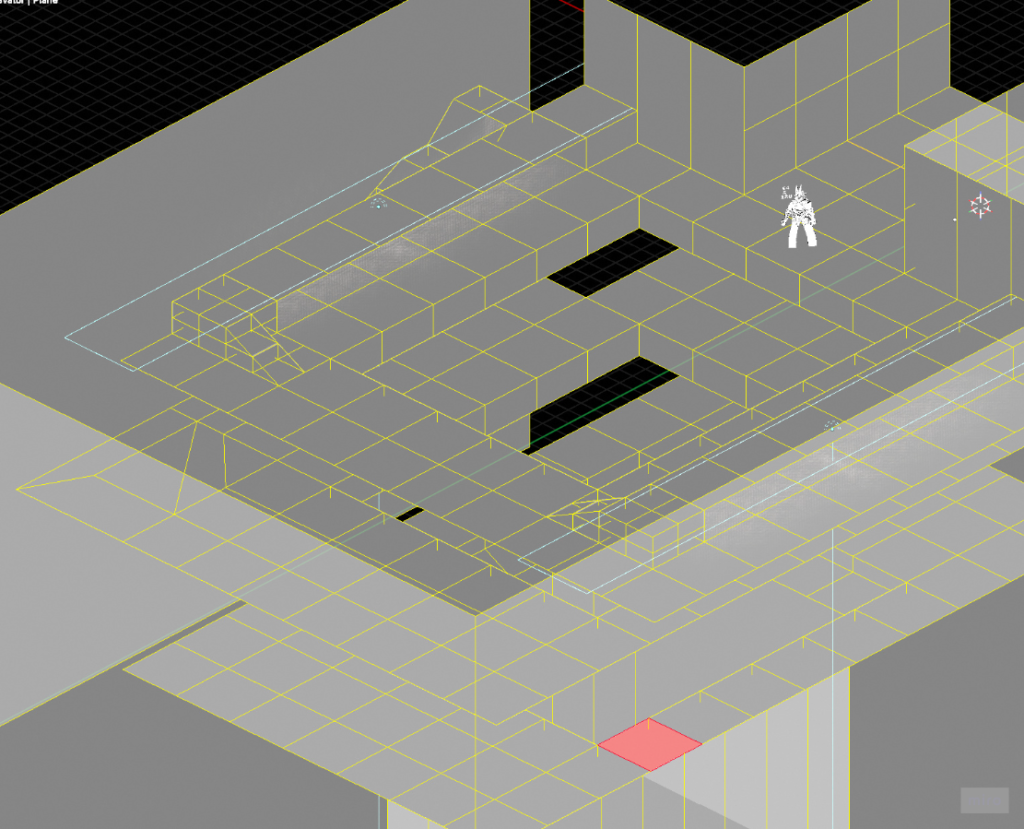
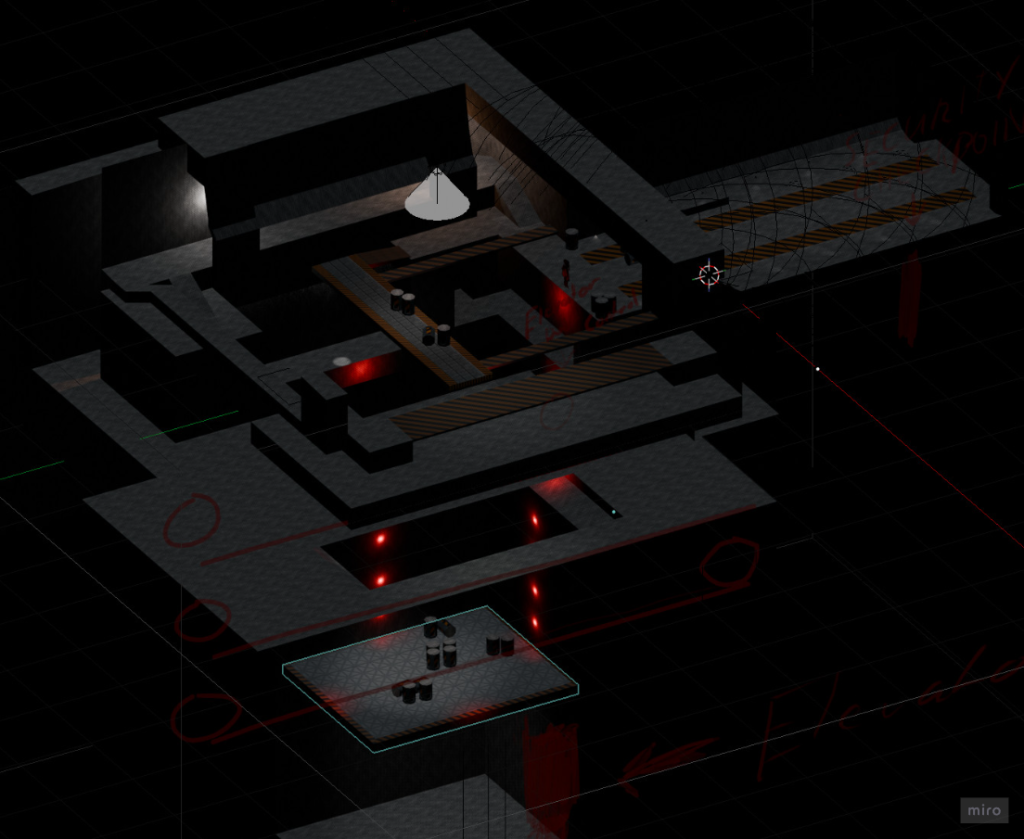
The level layout is primarily built from ~1.5m x 1.5m tiles that I wanted to work with to explore a unified set of dimensions we would later be able to apply pixel art to, while avoiding UV-related complications of larger face dimensions.
This actually ended up having some slight other issues, mostly in how advanced architecture overlaid and in hindsight, my approach in a future project would be to retain tiles for the floor or any collideable aspects, but have higher elements including ceilings and other decoration be a separate mesh layer that is agnostic of using tile dimensions.
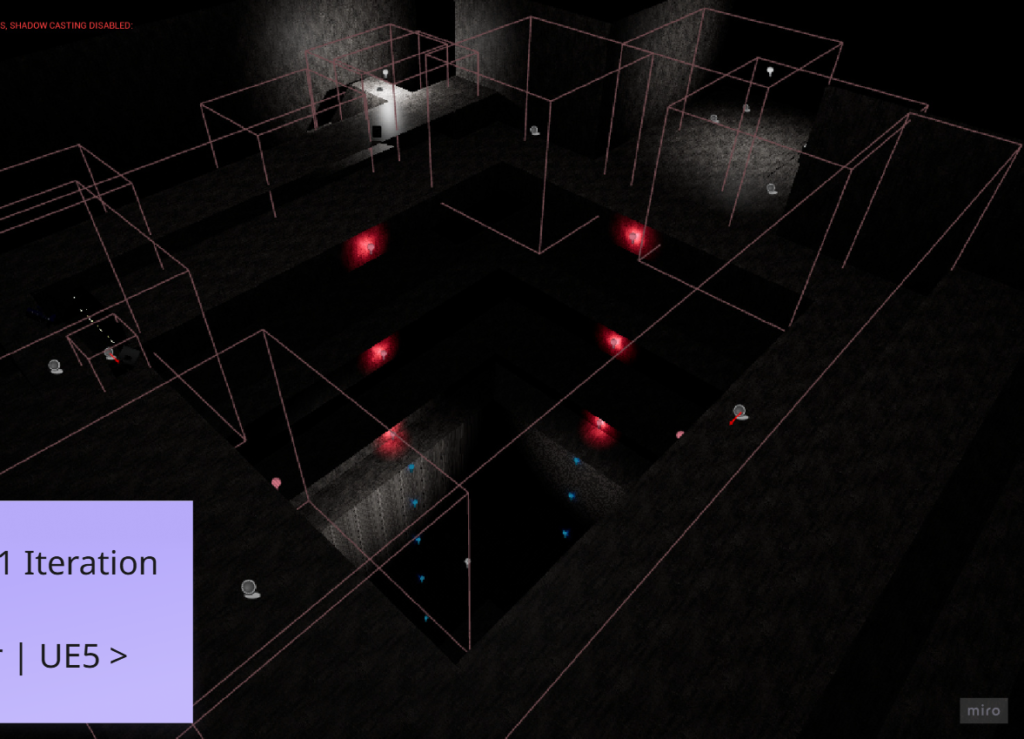
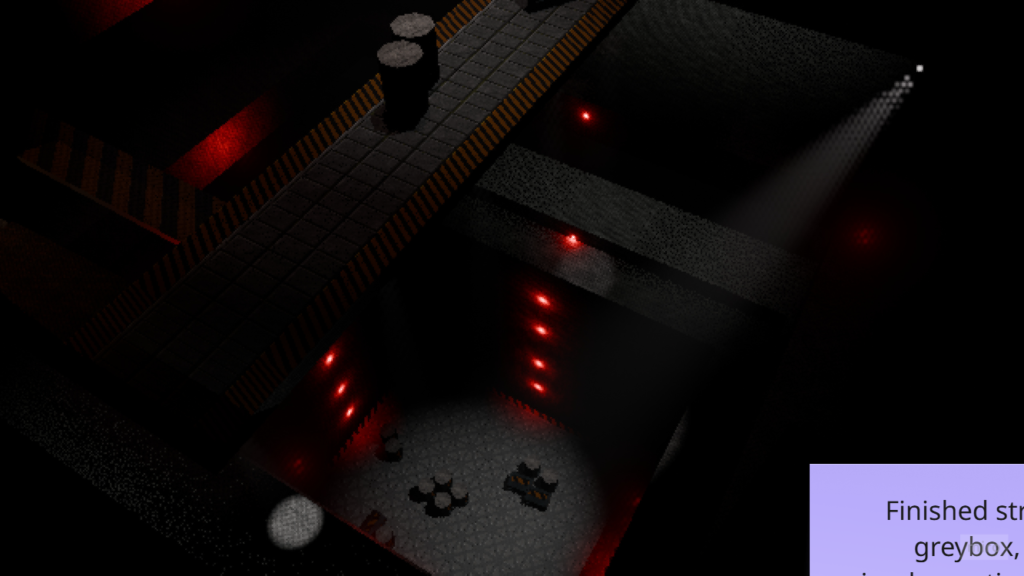
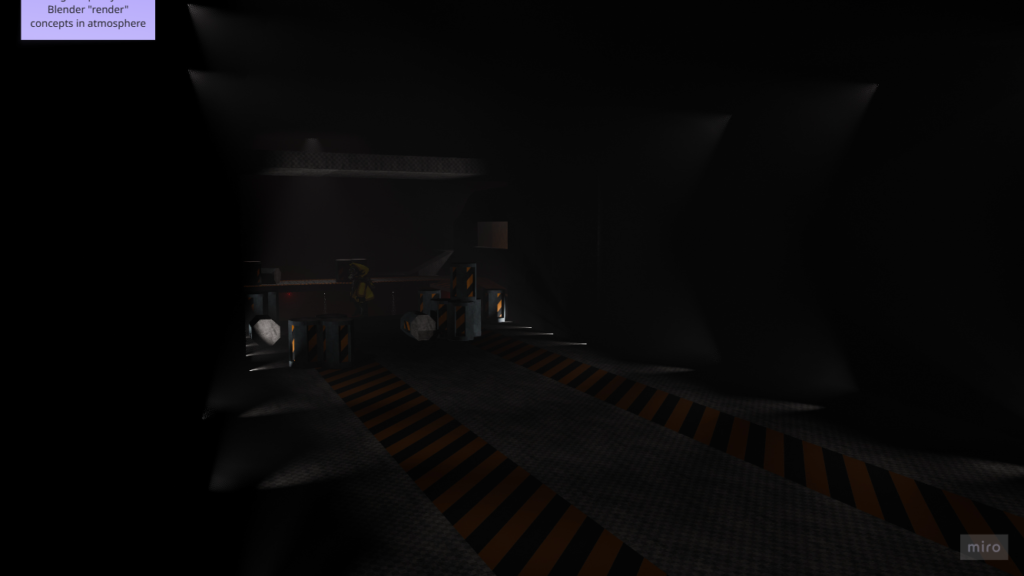
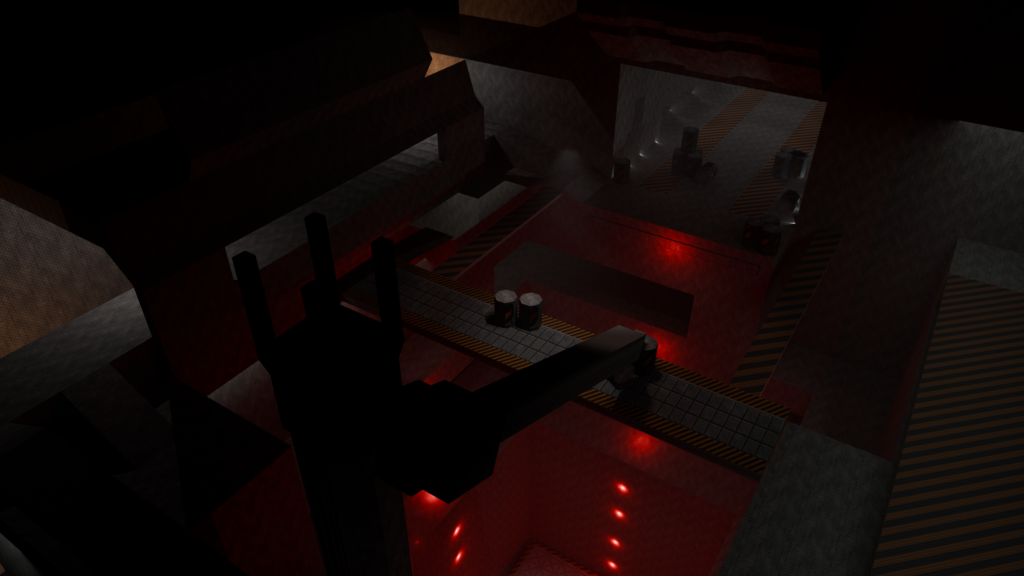
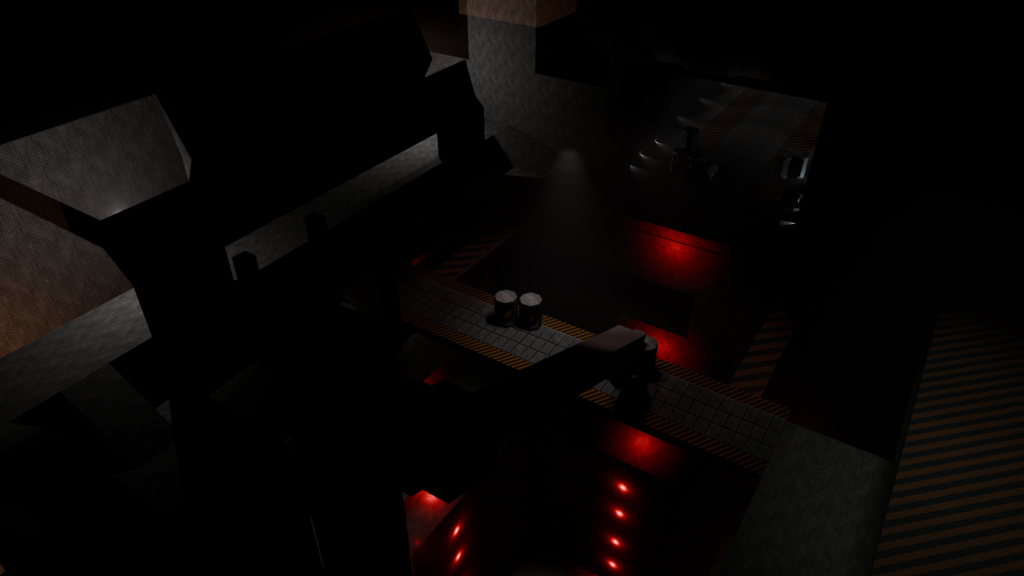
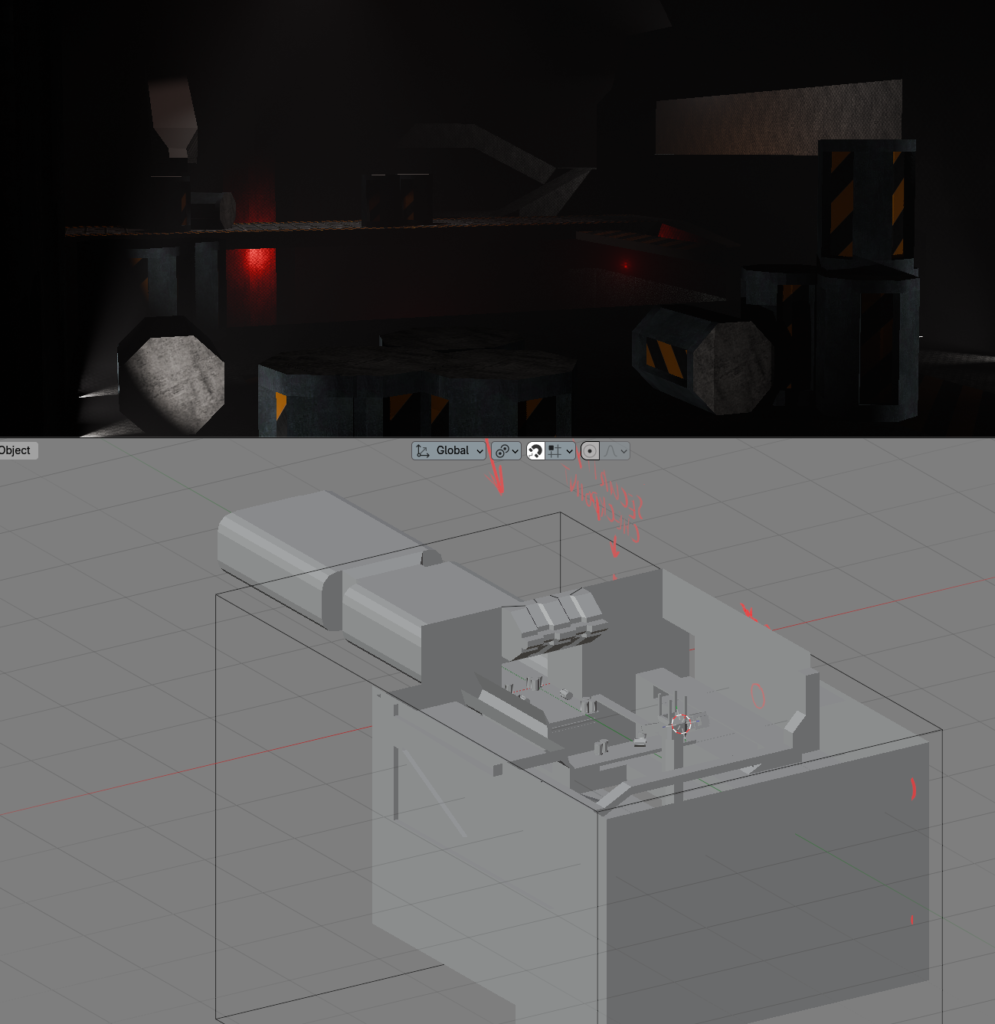
Below is a series of work in progress snapshots across development including bringing in other elements like a created moving platform, barrel decoration, establishing some lights and comparative shots across multiple Blender renderers and being in-engine in UE5.
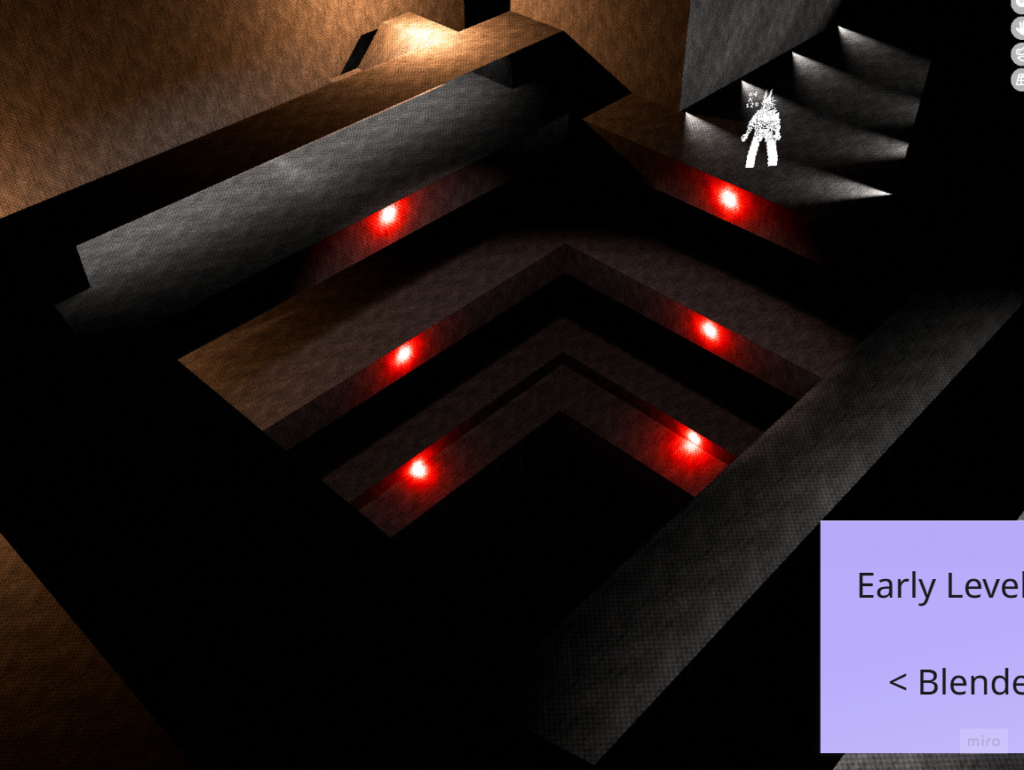
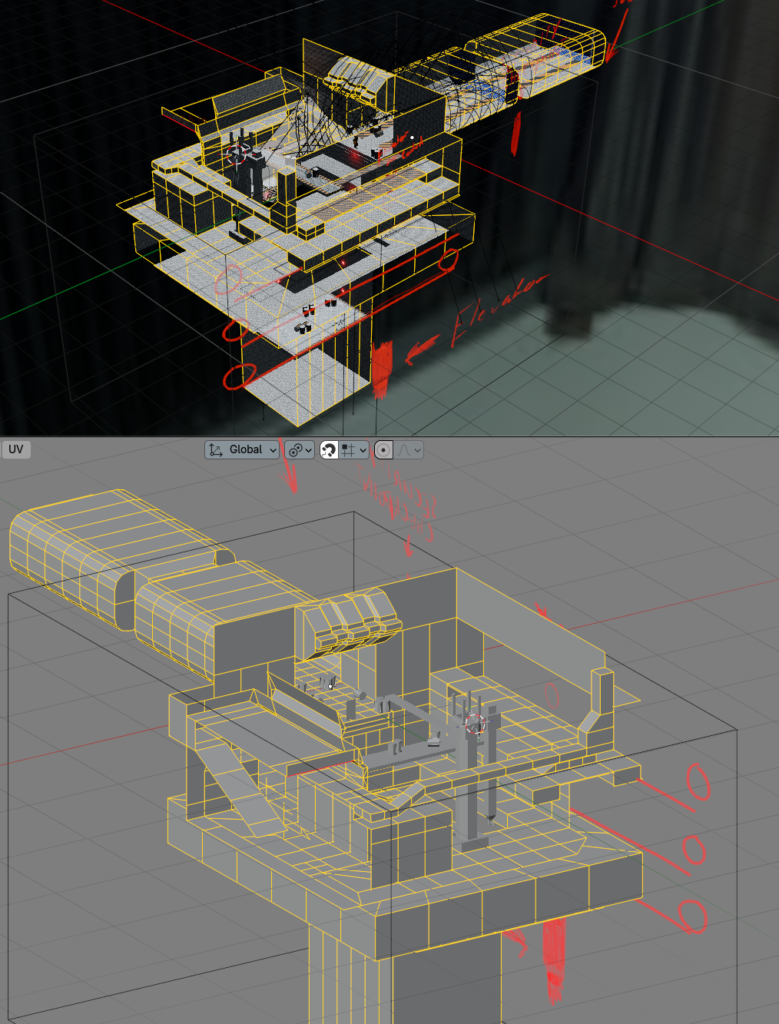
Starting to bring in extra detail and stripped out most ceiling / walls to rebuild them from scratch, cleaner while retaining the tiled floor faces.
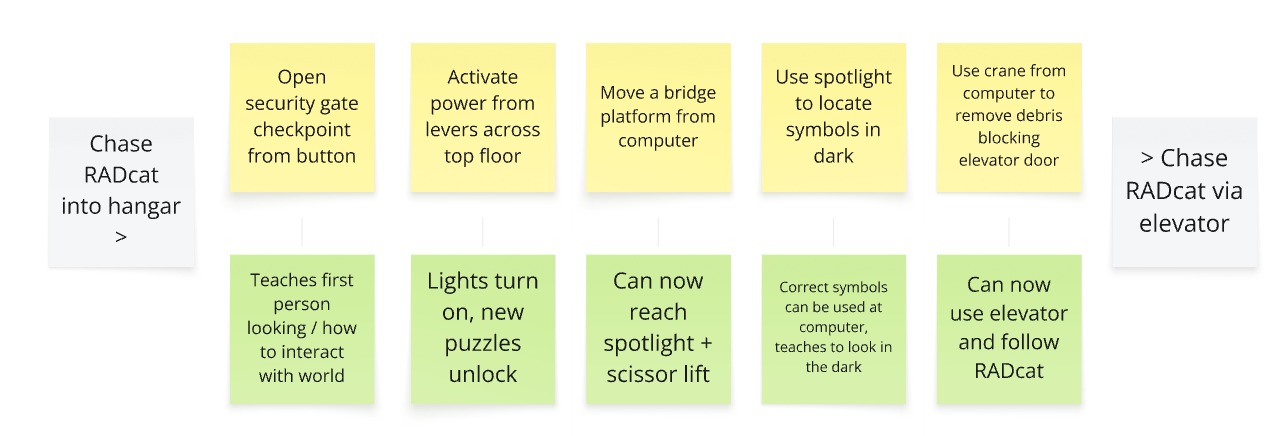
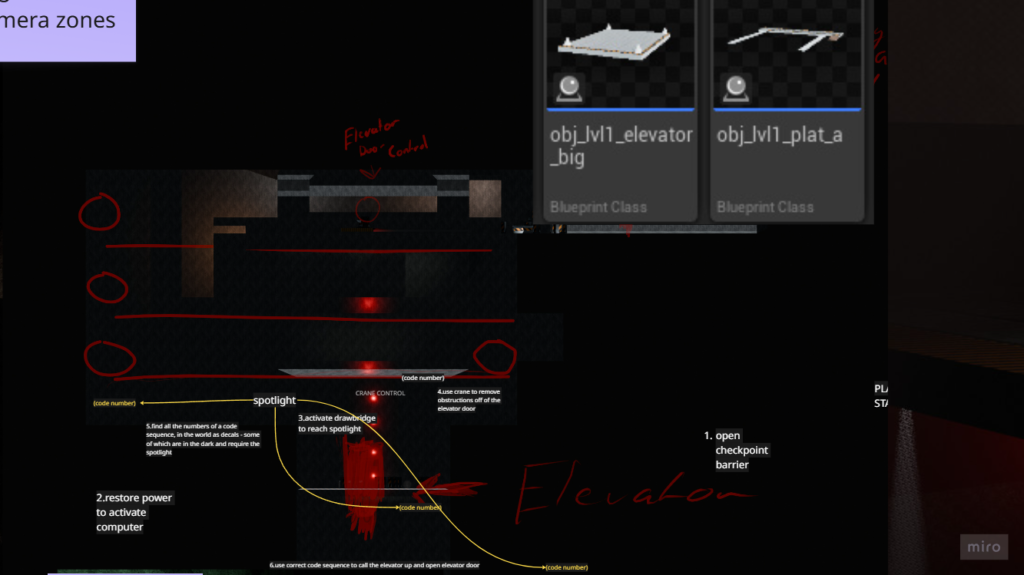
Starting out from the tunnel entrance seen in the main menu, you proceed through a multi-level “ribcage” around a cargo elevator shaft. In order, you navigate around to the space to:
- Activate a security checkpoint – teaching the player how first person interaction would work, and raising a physical gate to access the main room
- Extend a drawbridge from the upper computer – allowing to reach the power junction that would turn on the lights
- Notice a series of numbers in the space that were hidden in the dark
- Use a spotlight located on the upper floor to point toward remaining numbers not already revealed by the natural lighting
- Operate a crane to lift radioactive barrels off the elevator bulkhead door, so that it can open up (and the elevator raise to the player)
- Use the correct sequence of the number codes in the level to unlock the elevator, and call it up to the player
- Use the elevator to proceed to the next level, authored by Kate Pratt
The crane was the most recent section being worked on prior to the game jam playtest / submission, and was not systemically completed in time to be used on the level, but the early blocking for the object can be seen in a couple of these newer Blender screenshots just above.
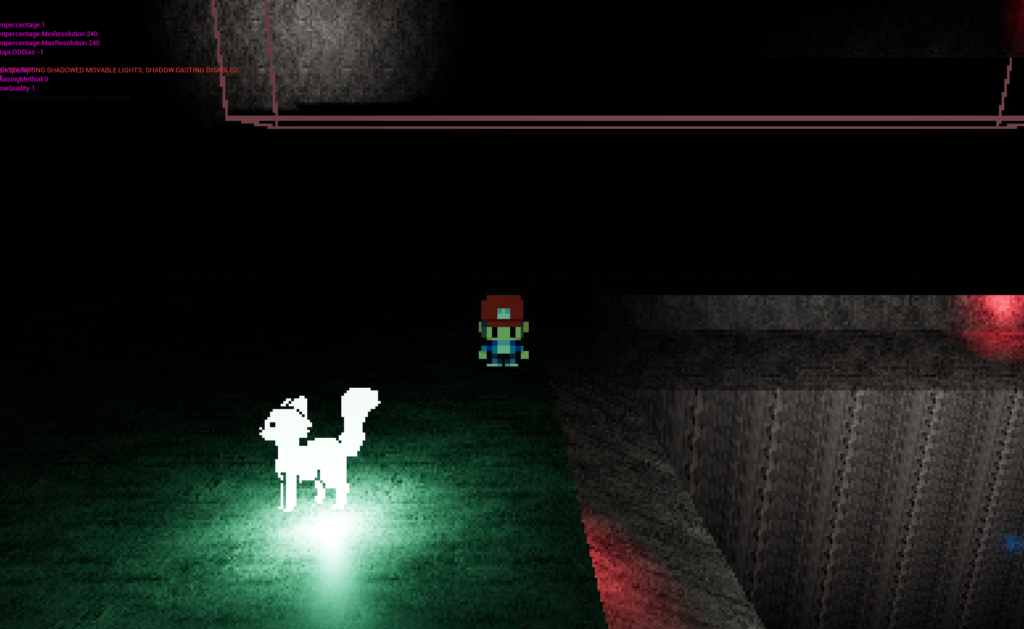
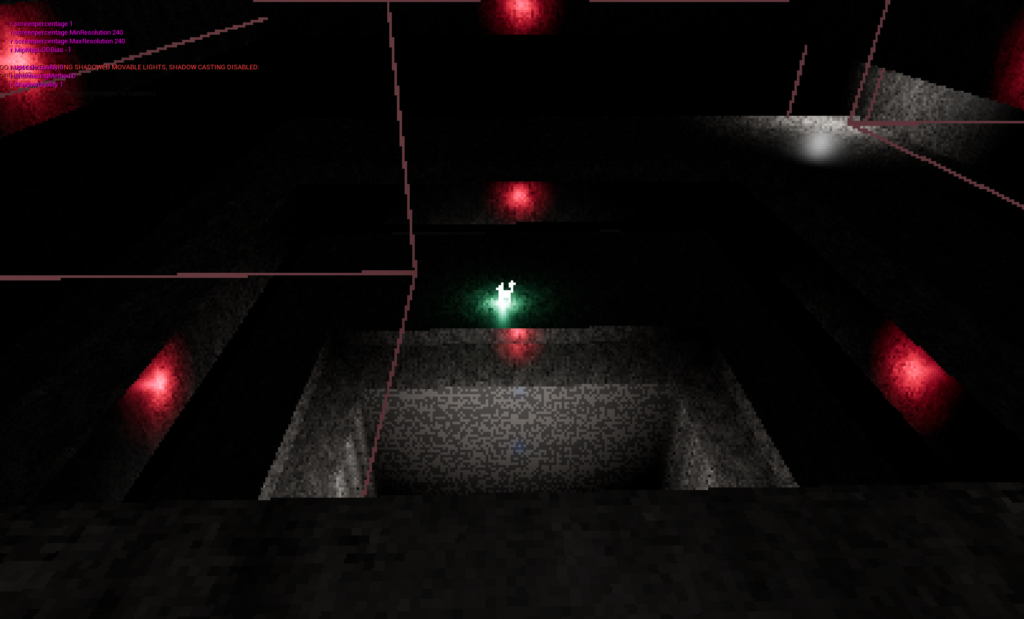
A”2.5D” Experience
During early planning, I suggested a direction to lean into that ended up guiding future production with a hybrid approach to rendering, 3D worlds but characters represented as billboard sprites, then utilizing a lower render resolution over that to attain this crunchy, retro look that would alias on the surfaces of the world to bring out a perceived faux-detail.
This could inform gameplay in a manner personally inspired by Metal Gear Solid, which I thought would provide an interesting perspective (pun aside) into a slower pace game experience that would give a more involved form of gameplay even without active hazards or enemies for the player to react around.
I felt that introducing a mechanic to the player control that sort of encourages a literal sense of “stopping to look around”, and capitalizing on how we could revolve the game loop around this, in my opinion, would subtly artificially extend gameplay time in a way that was “invisible” in a non-annoying sense, while also increasing the ability we could communicate information to players by hiding or placing information and art and world details throughout the space in a way that they need to be observed in first person.
This idea would have the player moving in a third person or top down view, but then be able to switch to a first-person view at any time. While in first person, the player can look around the 3D environment freely, and use the mouse to click on surfaces in the world to interact with puzzles, operate switches and computers and better see signs or other world information at a closer detail. The videos below are from later in development but demonstrate the mixture of the first / third person camera.
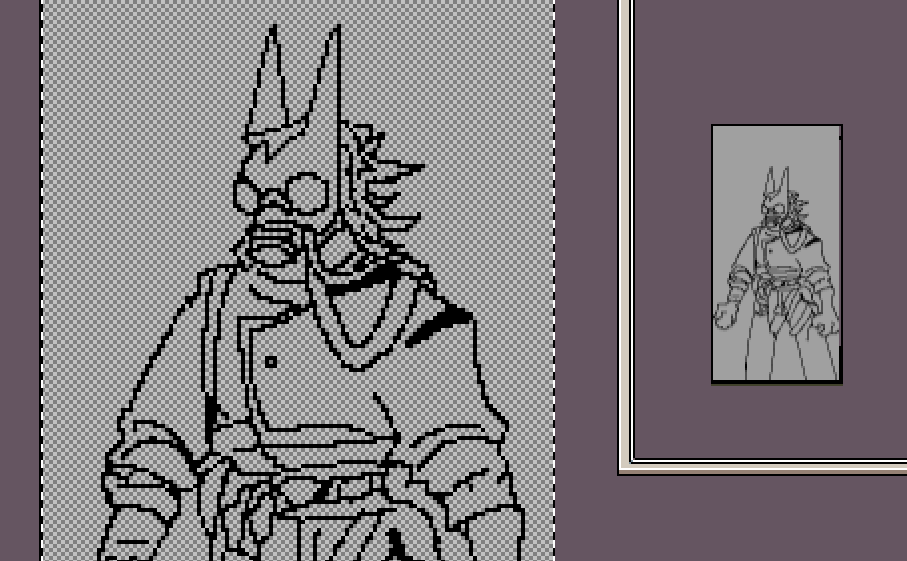
Nomad
Initial testing started with a placeholder rendered character to start leaning how UE5 would handle smaller sprites in relation to world scale, and also how this would carry through manually lowering the game viewport’s render resolution to achieve a crunchier, “low res” look which could cause complications against any art detail in sprites without care.
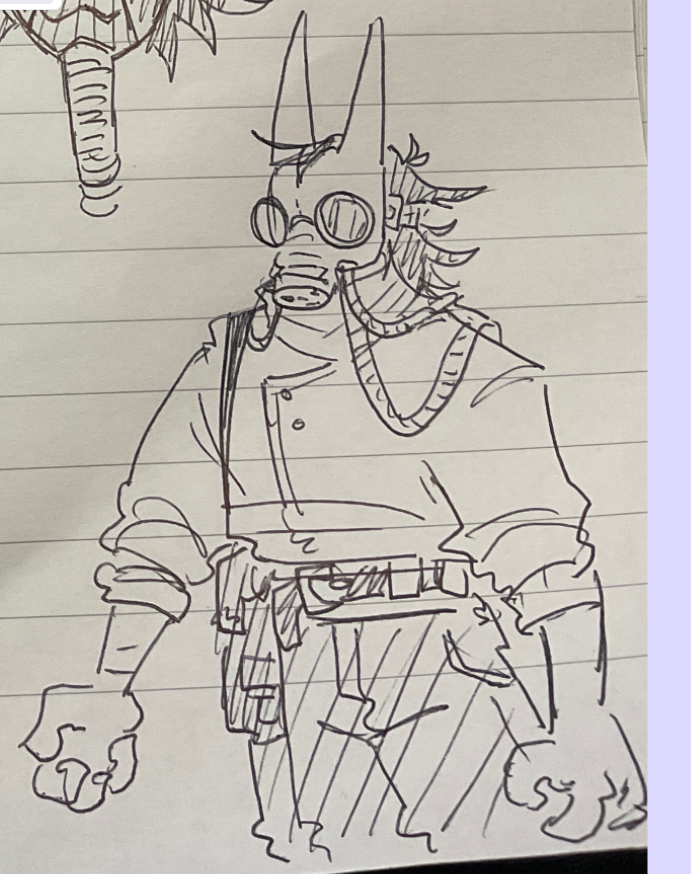
Although the player controller was still in development, along with true player sprites, we had a great test drawing that I traced and cleaned up as a lower-resolution rebuild in Aseprite during my work shifts, so that I could bring this into Unreal to start piecing together how pixel art would scale against the world, against an artificially limited render resolution, and how it would “billboard” and where the camera angle would play into things to look like “pop-out” art effectively while not being distracting.

Audio
Cat
Our star voice actor, my cat Jagger provided vocal stimuli for our audio logic, although I did have to hold back his dinner a few seconds to get demanding meows, I recorded a library of about 20 seconds of continued audio across a couple of days while booking out a field recorder from our tech store.
The three modules on the left would be called by Blueprints based on if the player had previously spotted the cat in the level, had made any puzzles progress recently, or is near proximity of the cat.
On the right side, a latch/”boolean” player fades a continuous purring playback.
MetaSounds can have variables or triggers manually interfaced with Blueprints, so my plan is that we’d have attached this to Radcat, and based on the game state, poke some of the triggers here in reaction to player activity.
Music
Early on I created this sketch to help us start to visualize how everything for the presentation would come together by the end along with including some small ideas for the geiger counter, the Radcat, and other sonic components of our game.
My aim was achieving a texture that conveyed a tribality or sense of ambience of a “concrete jungle”, inspired by the visuals of our concept art, some of our team discussions.
Should music have continued through the project, my intention was for each level to have a different rhythmic beat, and other elements to sort of pace or score your progress along each level, vocal pads and airy synths outlining the mystery and electronic aspects of the world, while the drums provide this aspect of being an active puzzle, inspired by Oddworld and Prince of Persia.
Other Systems
RADcat
Radcat would be your “waypoint”, lingering around different spots in the area, but always settling closer to the end of the level as you make more progress.
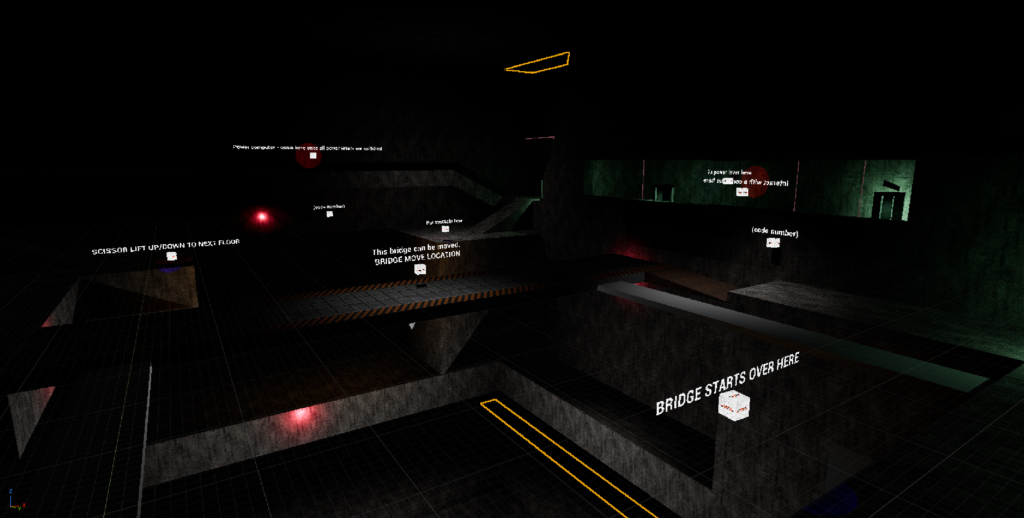
Placeholds
Small cube objects with a bindable description text, I created these prior to when we were approaching the point to be able to bring some of the puzzle systems created by Ben Lambert into the levels, and also so that each level designer could place context clues for how we intended to use the level space, even if art or functions were still not ready yet.

Flashlight / Spotlight
In my level, the spotlight would be a static, interactive device that you could “possess” in first person to shine the light around, and reveal a code sequence of numbers that were etched or stenciled on various walls in the room.
Upon the second level, you would pick up a first person Flashlight that would effectively permanently add an always-on light that only exists when you’re in first person view, for future puzzles to exploit the same concept of hiding some puzzle details in dark areas that require player illumination.

Radioactivity / Barrels
The only real “hazard” of the game as it reached in the state we had by project end, proximity to these would multiply your background increasing radiation to a quicker amount. “Detox pads” around the world can be stood on which will immediately negate your radiation back to zero, allowing you to continue further through the space.

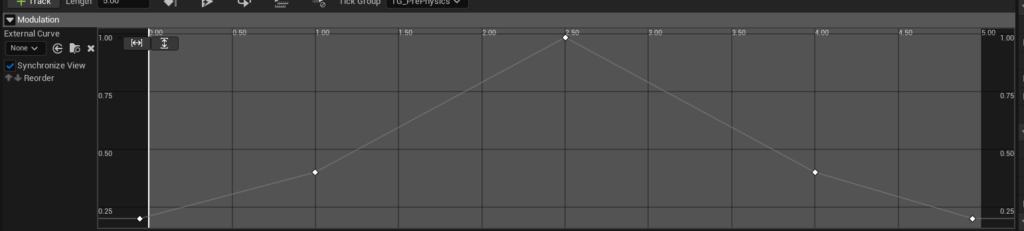
A little messy, and took a few tries to get right, but using some seed magic, I set up an offset across all barrel instances to have this smooth pulse effect.
Klaxon
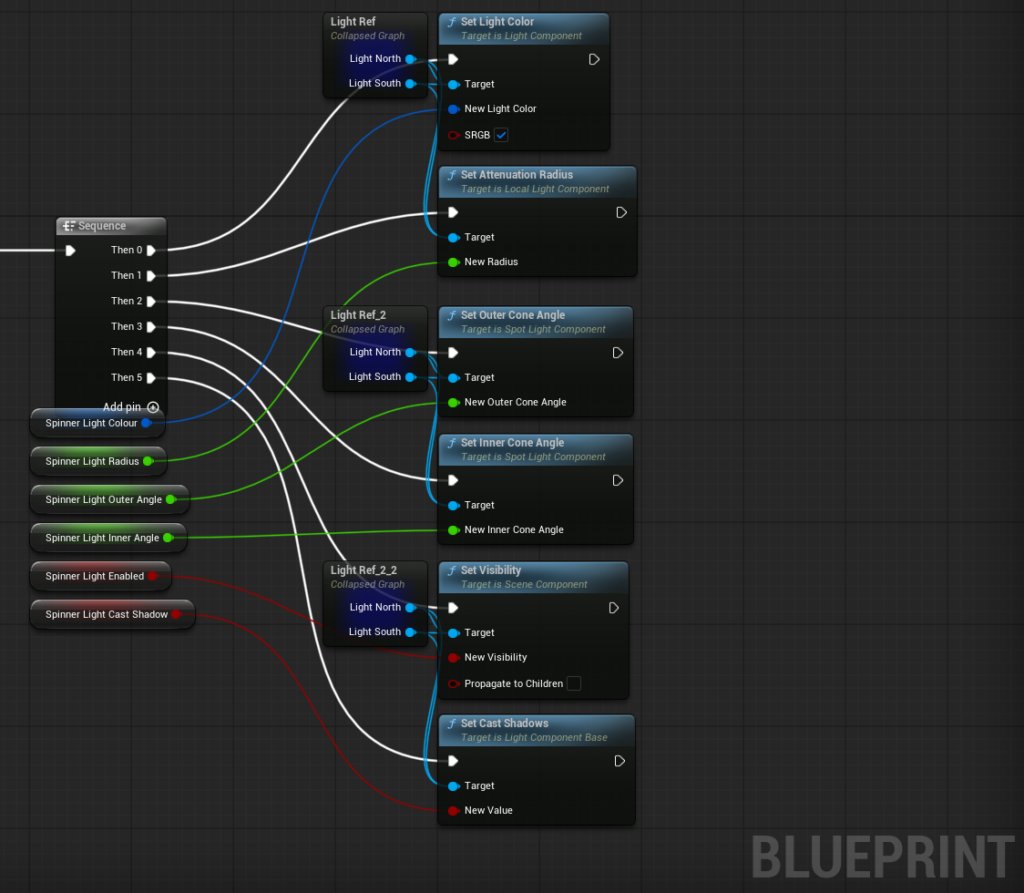
A simple spinning light that can have the colour changed at runtime, my intention for these was that each time you did a successful puzzle element or made more substantial progress further through the space, additional lights would come on, using different colours to convey information or get player attention by having different colours at a time for different puzzles or sections of level progress.

Level Sequences
How the project would have continued, the level would have “animated” through your progress via using basic movement animation as level sequences. These gracefully respect whatever expected collision is in play, so we can use these to move parts of the level around that the player will traverse.

Production
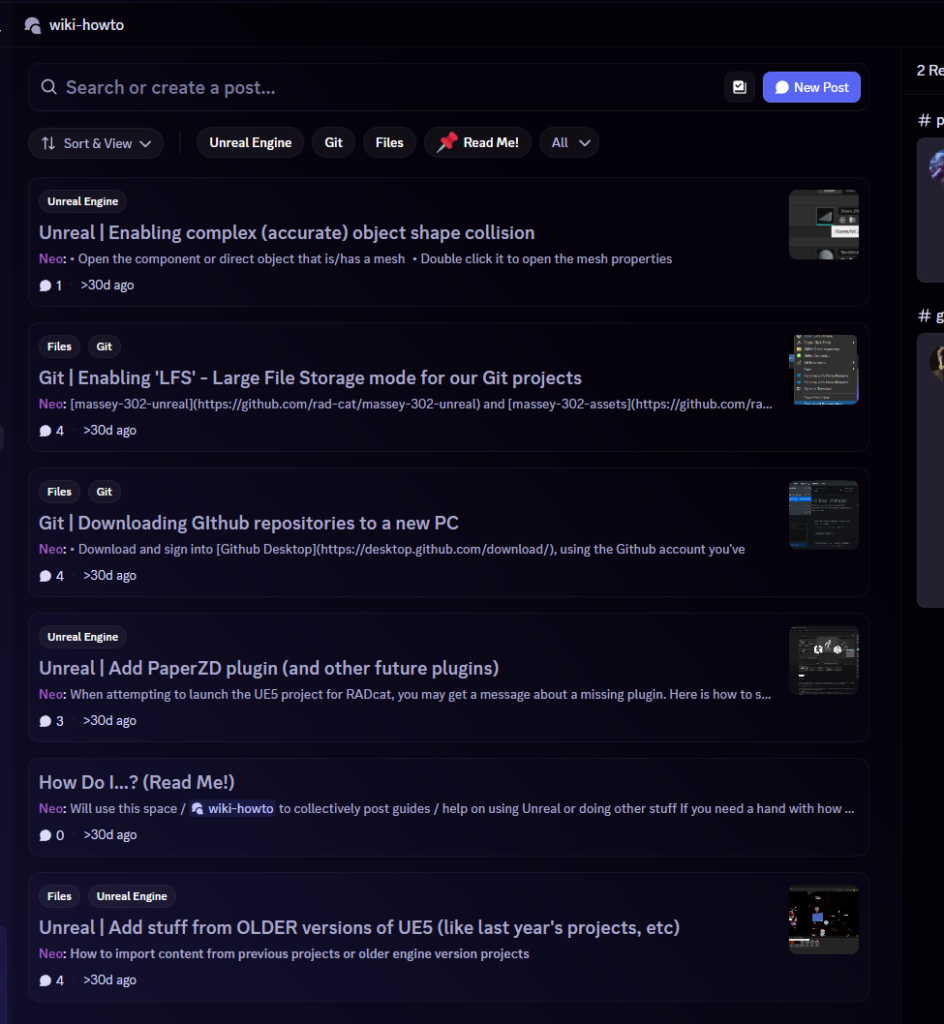
Because half of our team comprised of students that hadn’t used UE5 before, I created a tutorial space with quick guides to help onboard everybody into our working environments.
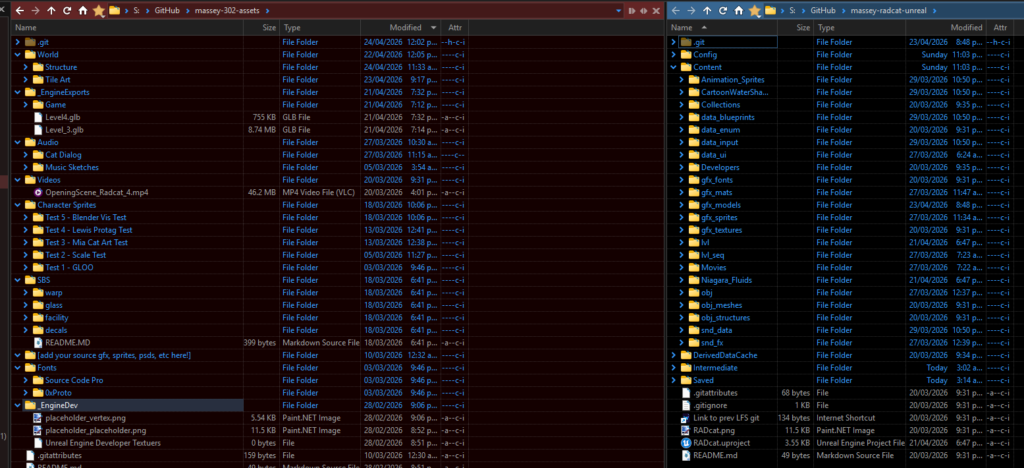
I set up the initial repositories with an art / game split to help mitigate overlap of iteration between the programming and art side of this project. New art assets could be manually – but easily reimported directly from Unreal.
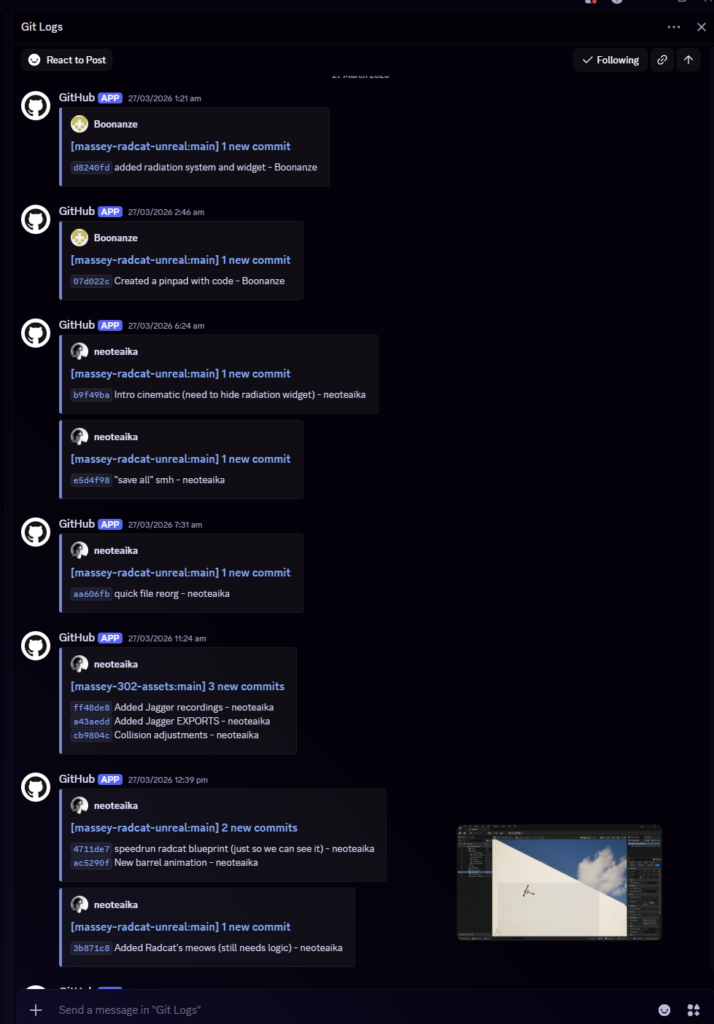
Via GitHub we were able to take advantage of webhooks for a dedicated channel of activity, allowing everyone to easier see active pushes without needing to open GitHub Desktop and fetch origin / open the repo from the web.
Cinematics
This took a couple of tries. I had forgotten UE does the weird jazz with Media Plates, Media Textures, and ultimately, the game engine is sort of handling audio and picture components of video files as two separate elements you need to take care of. At first I tried to set up a Media Texture that was bound to a plane mesh in front of the menu camera, and positioned exactly to take up the full screen. This had issues when trying to set up a graceful fade to black prior to the cinematic working, but I moved it over to the UI widget for the menu as a layer with zero opacity by default that fades in as a timeline animation once the appropriate option is clicked.
Check out the final intro / outro cinematics by Amy Cooke and Lexi Wilson!
Our full team:
- Ben Lambert – Programming
- Neo Te Aika – Production, Level 1, 3D Art, Audio
- Kate Pratt – Programming, Level 2
- Lilith Brown – Programming, Level 3
- Louis Scott – Concept & 2D art, Nomad
- Lexi Wilson – Production, Intro cinematic & 2D art, logo
- Mia Feyen – Concept & 2D art, Radcat
- Amy Cooke – Production, concept & level art. Outro cinematic
Leave a Reply